DIY Rifled Barrels
Posted: Sun Jul 02, 2006 5:05 am
Rifling Barrels
Now making your own rifled barrel is quite easy, all that is required is a few simple tools and some practice. The rifling process I am about to show you I have only tried on 3/4 pipe and I don’t no how it will work on larger diameter pipes but should work on smaller pipes much the same. The following Method works extremely well on Polly pipe, mainly only available in Australia.
Equipment:
~Barrel to be rifled.
~Long dowel that fits in barrel well but with a little play so it doesn’t get stuck.
~Small nails longer then the width of the dowel.
~Dremel, or a file.
~Tape (not the clear stuff it needs to be visible) and permanent marker. ~Ruler.
~Hammer.
Method:
1. MAKING THE TOOL.(picture 1) First off is to get your dowel that is going to be your rifling tool. And measure in from one end of dowel 30mm and mark a point this is where your first nail is going to go make sure to pre drill the hole for the nails as not to crack the dowel. Then measure 10mm and turn the dowel 90 degrees towards you and mark another point this is where your second nail will go and remember to pre drill the hole as before. The third hole is the same measure 10mm down and rotate another 90 degrees towards your self make a point with marker, time for the last hole and as before 10mm and turn towards yourself 90 degrees and mark a point. Doing this makes a cross of nail tips sticking out when nailed in to dowel so it makes 4 points of contact with the pick and thus making a 4 point rifled barrel.
2. TUNING THE TOOL. This is important in making the tool work properly, with your rifling tool now made and nails in place the heads of the nails should be protruding out the other side of your dowel. And if they are protruding to much it will be very hard to rifle your barrel so now this is where your handy Dremel comes into play or file either one will work but file will take longer. The heads of the nails need to be sticking out no more then 1-2mm in length and grinding/filing is needed if they are any longer then this. The nail heads must also be to a point so they can cut through the pipe easily.
3. TESTING THE TOOL. This is were you will find out if the nail heads need any more grinding/filing, take a small section of pipe the same size as your barrel and test how the tool marks the inside of the barrel by putting the small section of pipe over the dowel and pulling it down over the nail heads and it should start to bite in and you should feel it etching the inside of the pipe or if the tool is stuck more grinding is needed but be careful not to take to much off. Now to inspect the small piece of pipe for the tools effectiveness the marks etched into the pipe should have a small lip of PVC/Polly protruding up and there should be 4 nice even marks on the inside of the pipe. We will remove the lip of PVC/Polly later.
4. USING THE TOOL TO RIFLE.(picture....you get the point) This part is were I have stuffed up a few times on my own barrels where the rifling is un-even at the start then good then un-even again so this is where the tape is used. If your barrel is 1 meter in length you want 2 full rotations so get your tape and stick it to the dowel just after the nail heads and slowly twist and work the tape to the end of the dowel and this may take a few times before it works well. Now mark a point on you barrel that you are about to rifle and pull the dowel through the barrel to tape is visible but the nail heads have not yet started to etch the pipe, now carefully work your way along the barrel using the mark on your barrel and the tape as your guide to making the rifling neat and even. This is a little bit hard to pull through but don't rush it TAKE YOUR TIME!!! Otherwise you might suddenly pull though the whole barrel and have only straight etched lines which are of no use and a new piece of pipe will need to be used.
5. FINISHING THE ETCHES. Your new rifled barrel should be looking nice by now apart from one minor thing, the PVC/Polly lip that is formed so now grab your rifling tool dowel and flip it around to the end with nothing on it and get some fine sand paper but not to fine(not 2000p)around 300-400 is good and wrap some around the dowel and either staple or glue in place now pull this though your chamber a few times to get rid of that PVC/Polly lip and there you have it you very own rifled barrel.
This took me a few times to get it right it worked well on my 2nd pipe but on my 3rd one it worked wonders with only a small section at the end of the pipe that was straight ant not rifled this happened because I tried to rush it and get it done quicker so TAKE YOUR TIME!!
Any feed back on this would be wonderful and any ideas on how to improve it would be much thanked.
Thank you to: Brianthebrain, for giving me the idea of using the tape for the even twists.
Some Pics Of a Rifled Barrel I Did Myself.
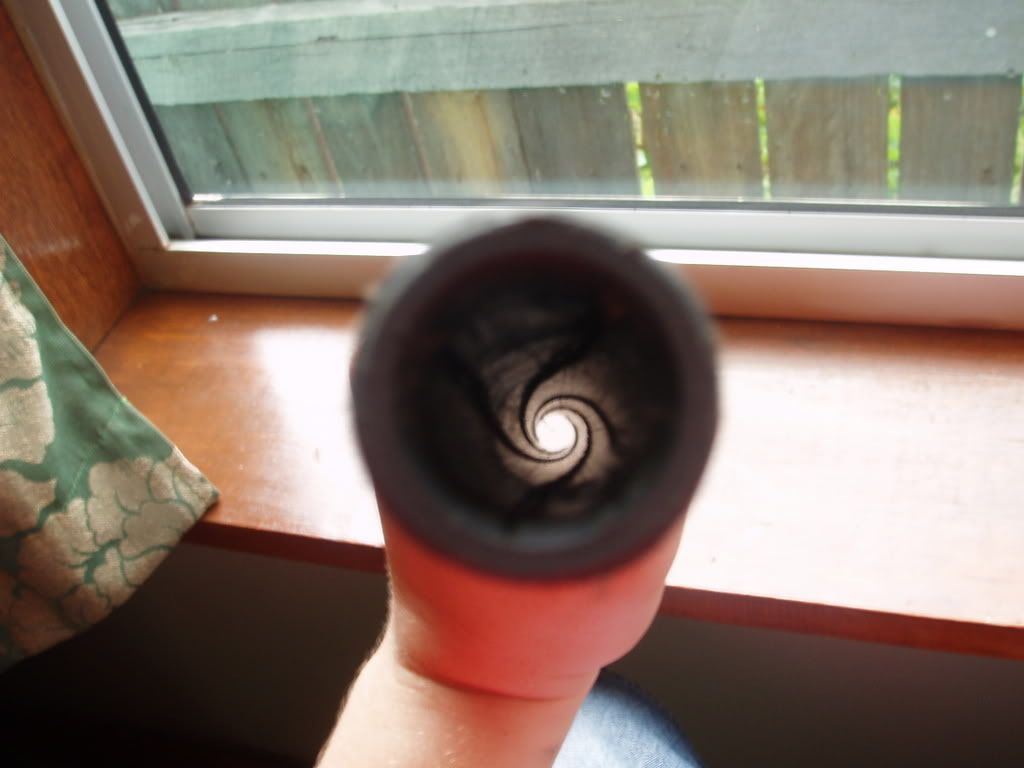
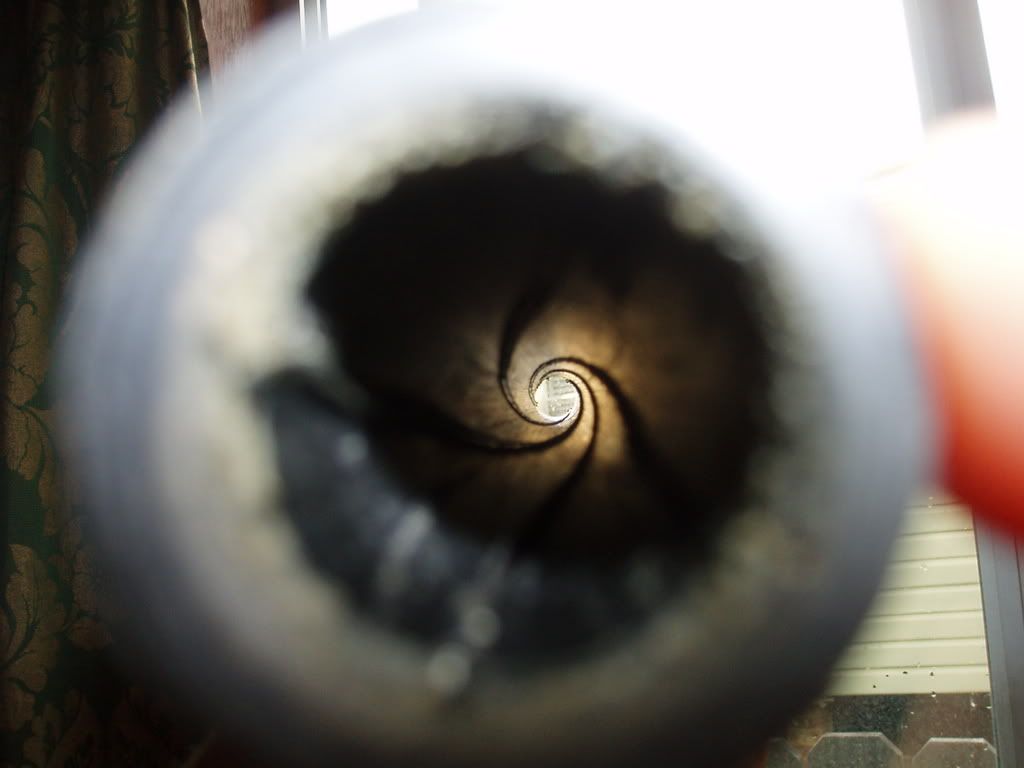