I blow through the back hole and air comes out the front ones, as expected.
But I blow through the front ones and air goes out the back holes, problem.
Hubb... I need you help. These pistons were 12 dollars each lol.
And I just ordered parts for the rest of our gun, only 20 each.
Pretty good, 35 dollar advanced mega piston valve
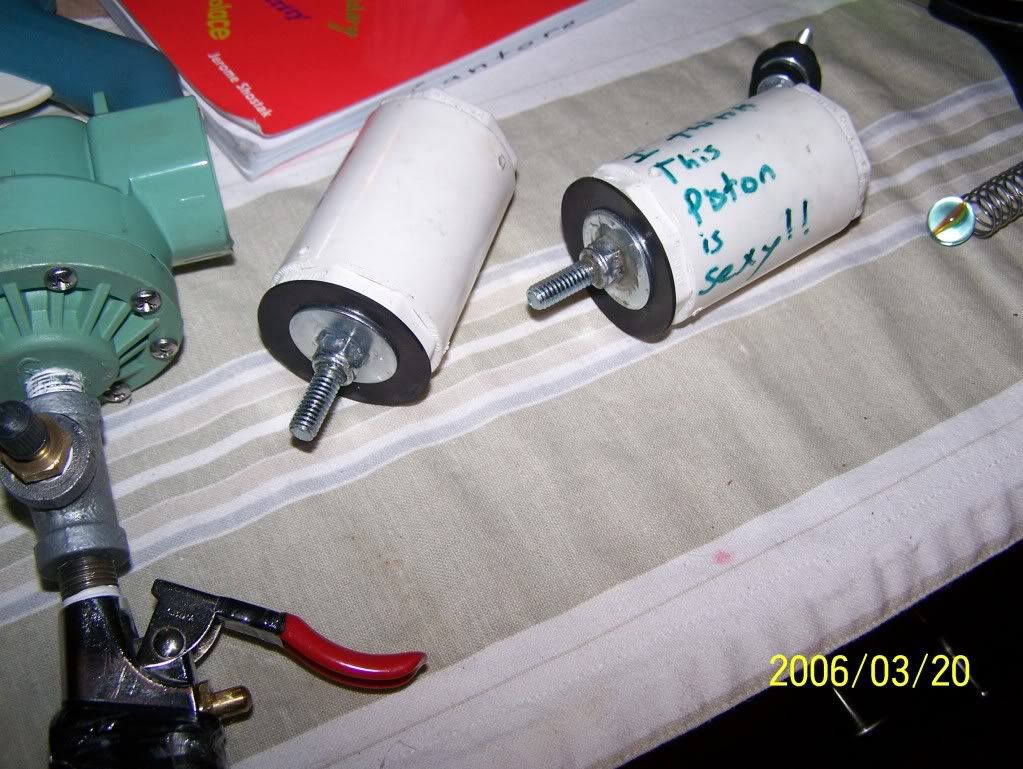
The two valves, in all their glory:
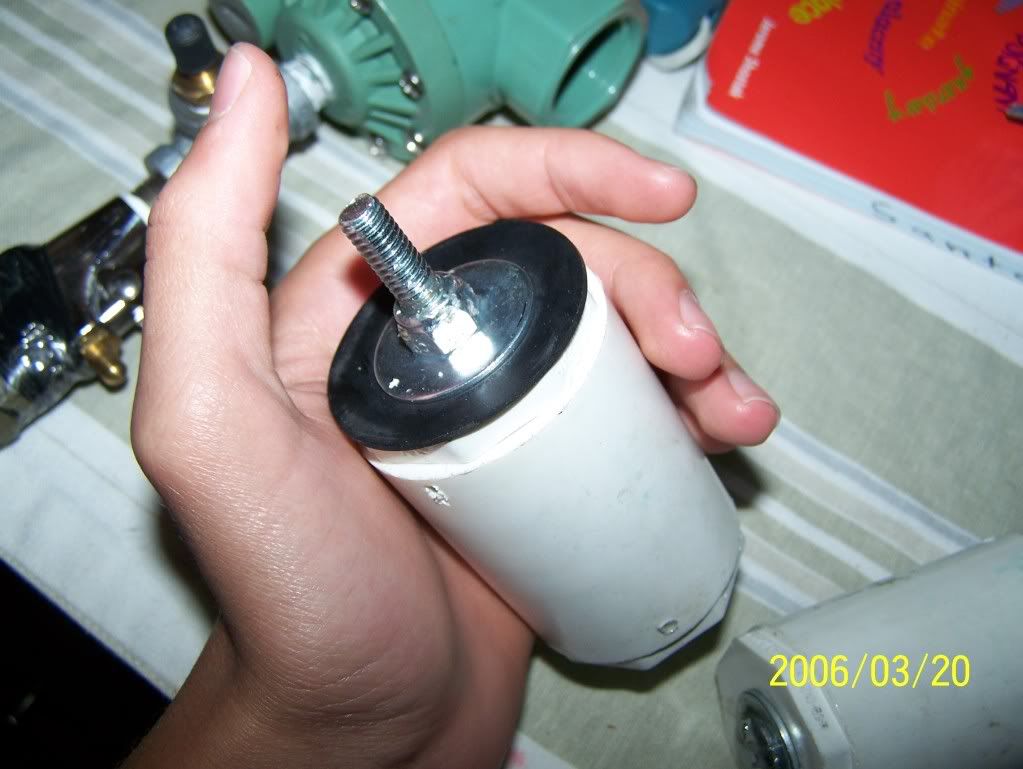
Showing the front:
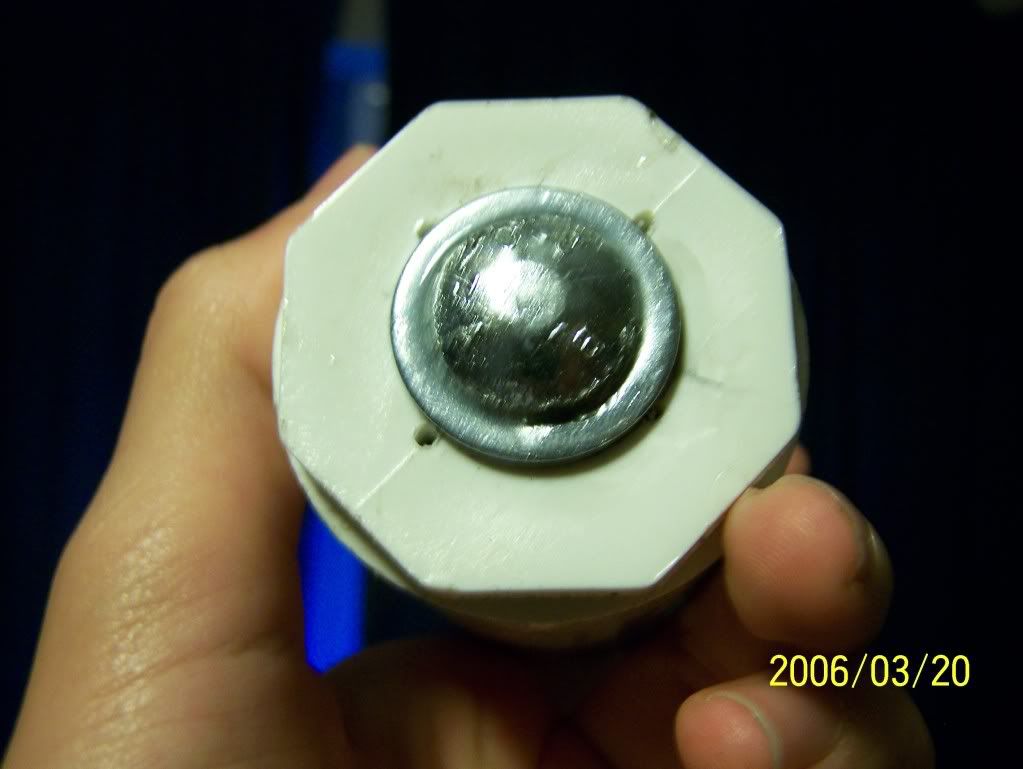
Showing the back:
Reed's piston says "Hey Hubb, I think this piston is sexy"