

I tried to drill out the stripped screw hole and put in a larger screw, but I did it at an angle, and ruined it.
I bought new parts for the piston, but I messed up. The two endcaps which made up the piston did not glue together flushly, and I did not want to use it for fear of it "catching" on something.
Yet again I tried, and failed. When I failed on my third try, it was the worst feeling ever. The hardware store was all out of the parts I needed. I was seriously considering just smashing up the valve and quitting spudguns...forever.
I decided to give it one more try (after some inspirational words from my mother
While I may have gotten lucky, the point it often you will need to buy new spudgun parts if you keep screwing up on the same thing. You just gotta stick in there.


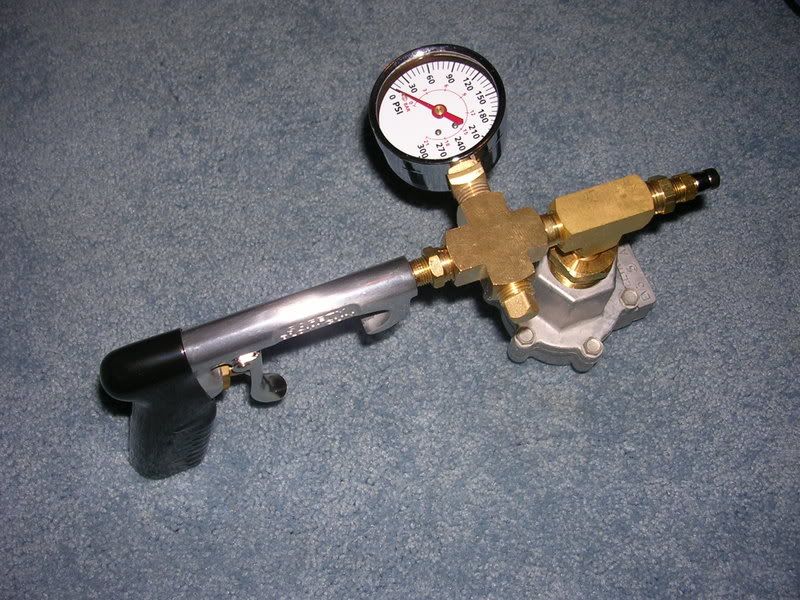
 (tee for handle)
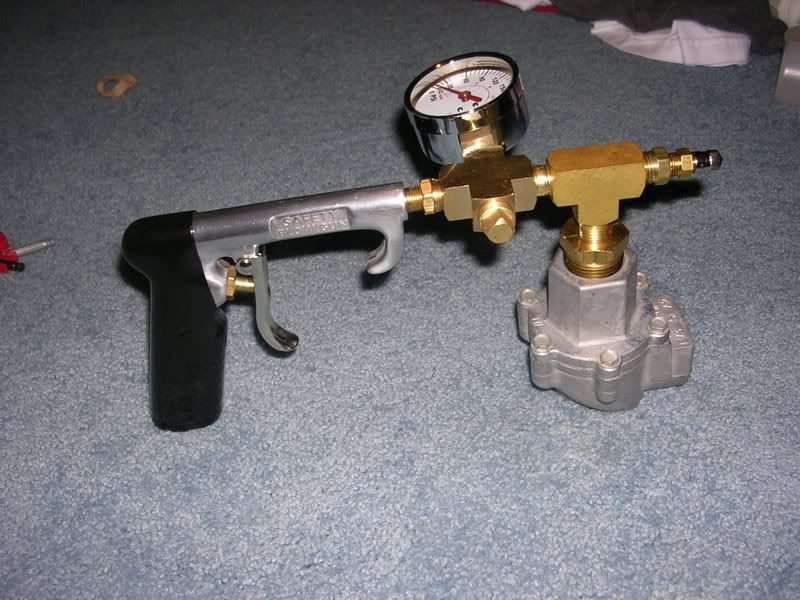