My GB cannon is done! ( UPDATED!!!) now with damage pics
Posted: Fri Sep 14, 2007 8:00 pm
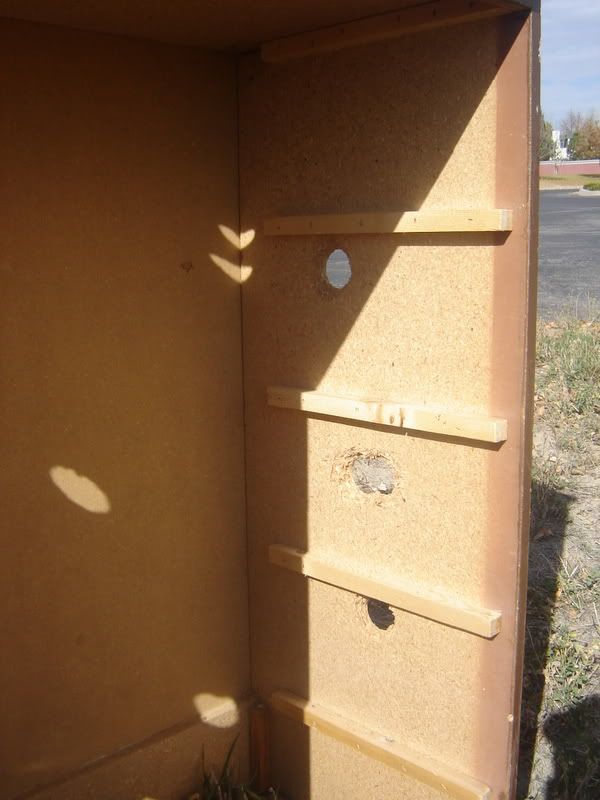
after being out of town for a lot longer then i wanted. its done and it has more power then any of my guns to date. this is gun #6 and my 2nd piston valve. i went up to the mountains today to test out the power. i ran it at 150 psi and i could barely see the GB's come out and they were out of view in no time.i had some 2'x4' strips of 3/4'' plywood and a few 2''x4''x12'' in the bed of my truck from a job i did and with the plywood it would blow 3'' holes in it like nothing and from about 20' it would break the 2''x4'' in half 4 out of 5 time and the 5th was hanging on by all most nothing but everyone tell me what you think about it
specs:
-2 1/2'x3'' chamber
-4' GB barrel sdr21 & sch80
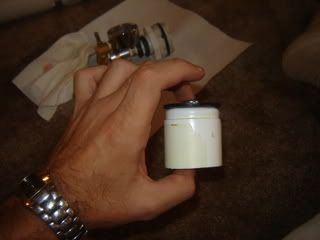
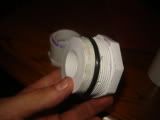
-the piston is a pill bottle filled
with foam
-valve is 2'' tee with a 1 1/2'' port
-pilot is a 1/4'' ball valve
so i just got done with the paint job and i got all the small bugs out of the valve so i put the QEV back on it gives it a little more power
<a href="http://photobucket.com" target="_blank"><img src="http://i87.photobucket.com/albums/k154/ ... ure100.jpg" border="0" alt="Photo Sharing and Video Hosting at Photobucket"></a>
<a href="http://photobucket.com" target="_blank"><img src="http://i87.photobucket.com/albums/k154/ ... ure127.jpg" border="0" alt="Photo Sharing and Video Hosting at Photobucket"></a>
<a href="http://photobucket.com" target="_blank"><img src="http://i87.photobucket.com/albums/k154/ ... ure130.jpg" border="0" alt="Photo Sharing and Video Hosting at Photobucket"></a>
<a href="http://photobucket.com" target="_blank"><img src="http://i87.photobucket.com/albums/k154/ ... ure126.jpg" border="0" alt="Photo Sharing and Video Hosting at Photobucket"></a>
<a href="http://photobucket.com" target="_blank"><img src="http://i87.photobucket.com/albums/k154/ ... ure096.jpg" border="0" alt="Photo Sharing and Video Hosting at Photobucket"></a>
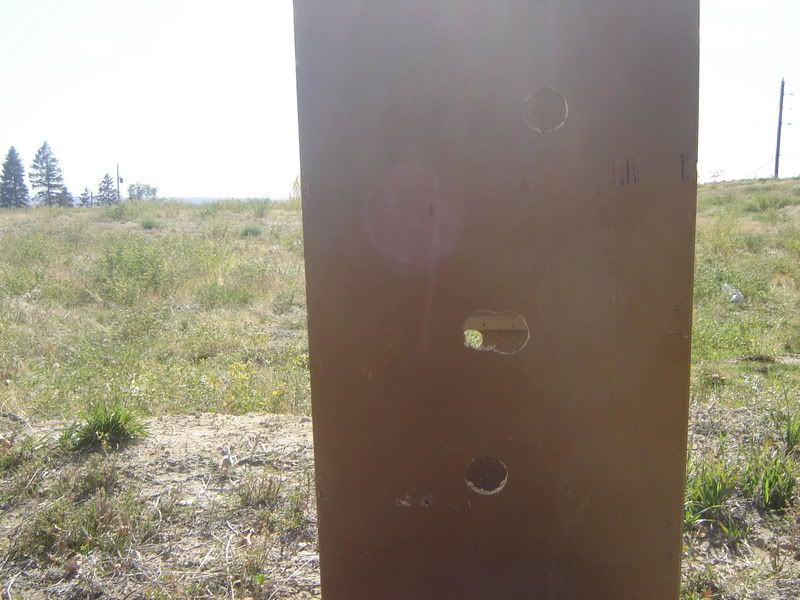
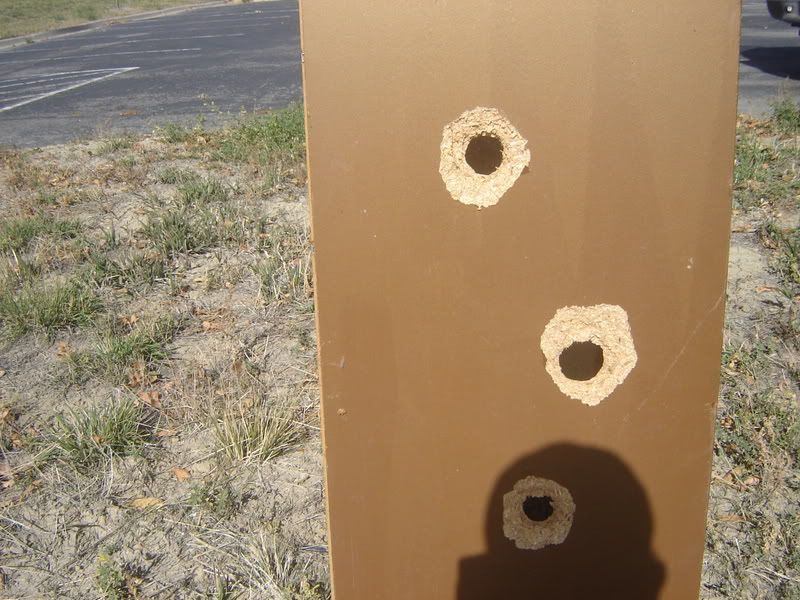
all shots where at 65psi
front
<a href="http://photobucket.com" target="_blank"><img src="http://i87.photobucket.com/albums/k154/ ... ure137.jpg" border="0" alt="Photo Sharing and Video Hosting at Photobucket"></a>
back
<a href="http://photobucket.com" target="_blank"><img src="http://i87.photobucket.com/albums/k154/ ... ure138.jpg" border="0" alt="Photo Sharing and Video Hosting at Photobucket"></a>
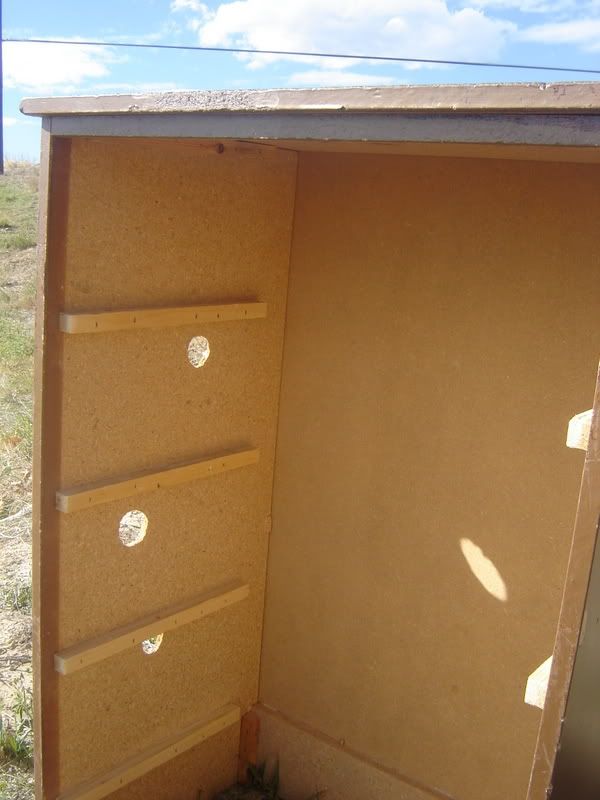
inside back
<a href="http://photobucket.com" target="_blank"><img src="http://i87.photobucket.com/albums/k154/ ... ure140.jpg" border="0" alt="Photo Sharing and Video Hosting at Photobucket"></a>
inside front
<a href="http://photobucket.com" target="_blank"><img src="http://i87.photobucket.com/albums/k154/ ... ure141.jpg" border="0" alt="Photo Sharing and Video Hosting at Photobucket"></a>
specs:
-2 1/2'x3'' chamber
-4' GB barrel sdr21 & sch80
-the piston is a pill bottle filled
with foam
-valve is 2'' tee with a 1 1/2'' port
-pilot is a 1/4'' ball valve
so i just got done with the paint job and i got all the small bugs out of the valve so i put the QEV back on it gives it a little more power
<a href="http://photobucket.com" target="_blank"><img src="http://i87.photobucket.com/albums/k154/ ... ure100.jpg" border="0" alt="Photo Sharing and Video Hosting at Photobucket"></a>
<a href="http://photobucket.com" target="_blank"><img src="http://i87.photobucket.com/albums/k154/ ... ure127.jpg" border="0" alt="Photo Sharing and Video Hosting at Photobucket"></a>
<a href="http://photobucket.com" target="_blank"><img src="http://i87.photobucket.com/albums/k154/ ... ure130.jpg" border="0" alt="Photo Sharing and Video Hosting at Photobucket"></a>
<a href="http://photobucket.com" target="_blank"><img src="http://i87.photobucket.com/albums/k154/ ... ure126.jpg" border="0" alt="Photo Sharing and Video Hosting at Photobucket"></a>
<a href="http://photobucket.com" target="_blank"><img src="http://i87.photobucket.com/albums/k154/ ... ure096.jpg" border="0" alt="Photo Sharing and Video Hosting at Photobucket"></a>
all shots where at 65psi
front
<a href="http://photobucket.com" target="_blank"><img src="http://i87.photobucket.com/albums/k154/ ... ure137.jpg" border="0" alt="Photo Sharing and Video Hosting at Photobucket"></a>
back
<a href="http://photobucket.com" target="_blank"><img src="http://i87.photobucket.com/albums/k154/ ... ure138.jpg" border="0" alt="Photo Sharing and Video Hosting at Photobucket"></a>
inside back
<a href="http://photobucket.com" target="_blank"><img src="http://i87.photobucket.com/albums/k154/ ... ure140.jpg" border="0" alt="Photo Sharing and Video Hosting at Photobucket"></a>
inside front
<a href="http://photobucket.com" target="_blank"><img src="http://i87.photobucket.com/albums/k154/ ... ure141.jpg" border="0" alt="Photo Sharing and Video Hosting at Photobucket"></a>