My First Piston Experimenting with Pics and Damage
Posted: Wed Jan 07, 2009 12:33 am
I was looking at some scrap PVC and parts I had laying around and decided I would build a mini piston gun so I could at least get my feet wet with pistons. I had some 2" PVC and a 2" hole saw. So I cut 4 plugs out of a 2x4 and used them as the pilot back, piston, barrel support, and front endcap. Its a co-axile design.
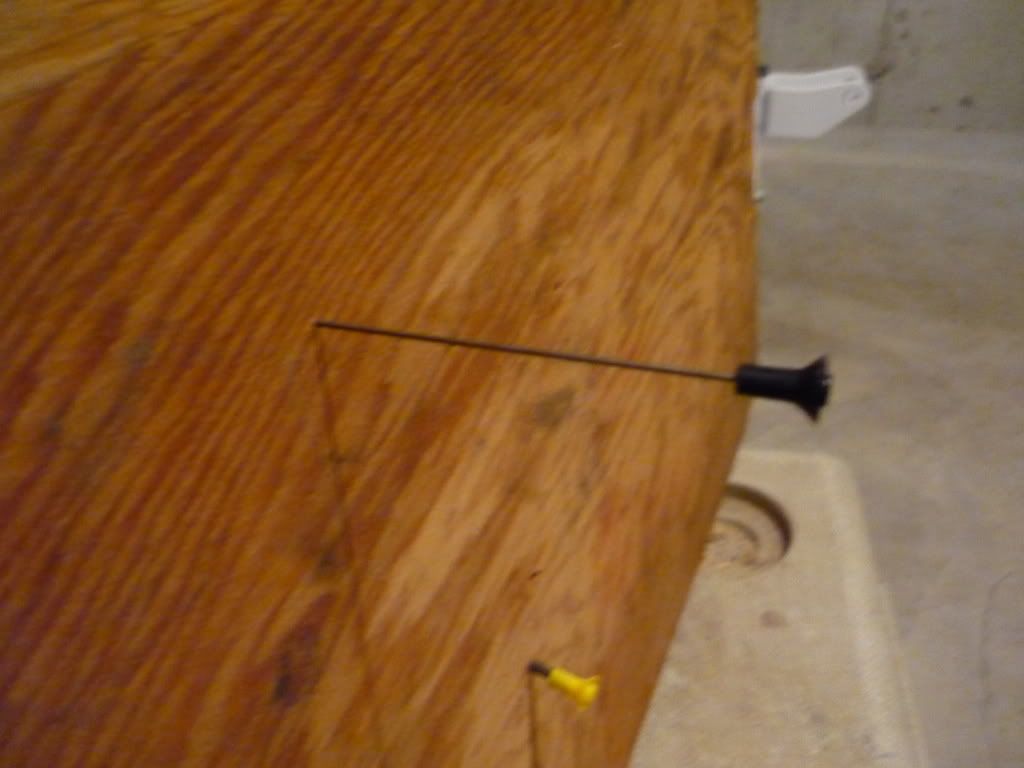
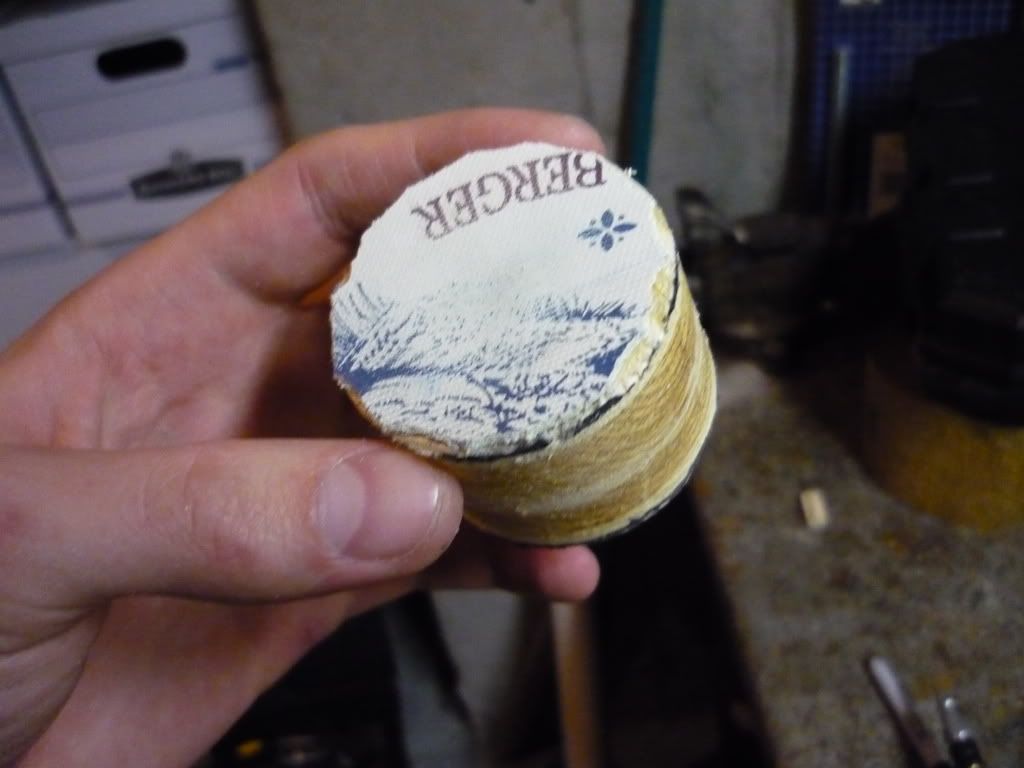
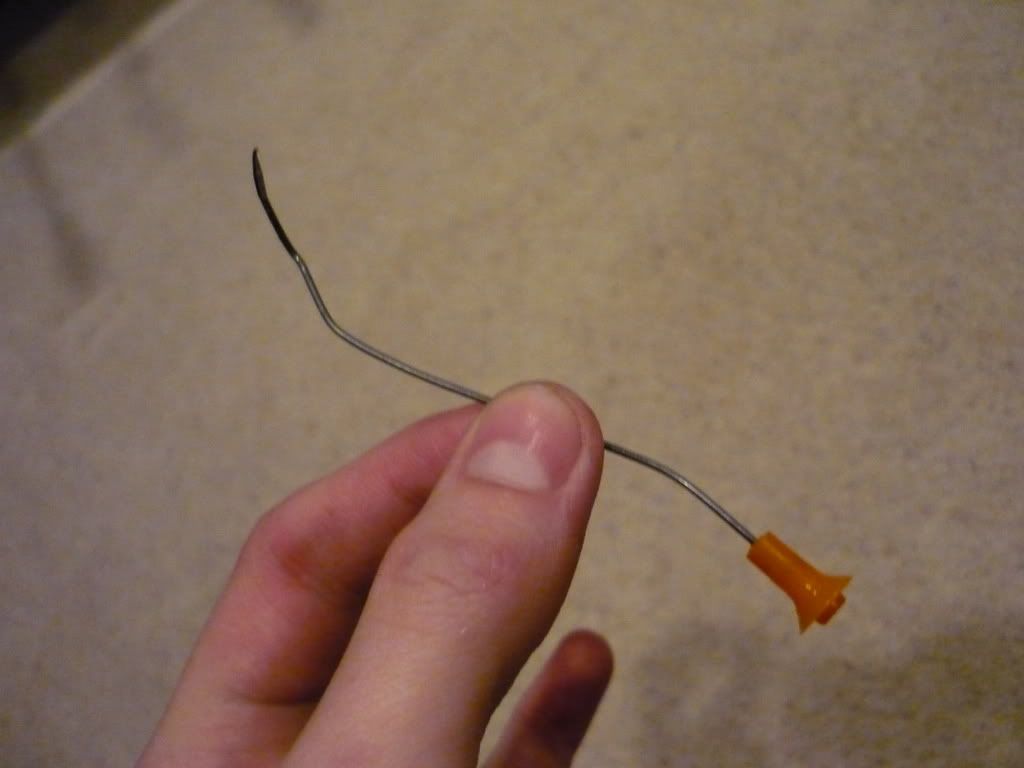
Figured I would start with this pic just so everyone knows I learned my lesson

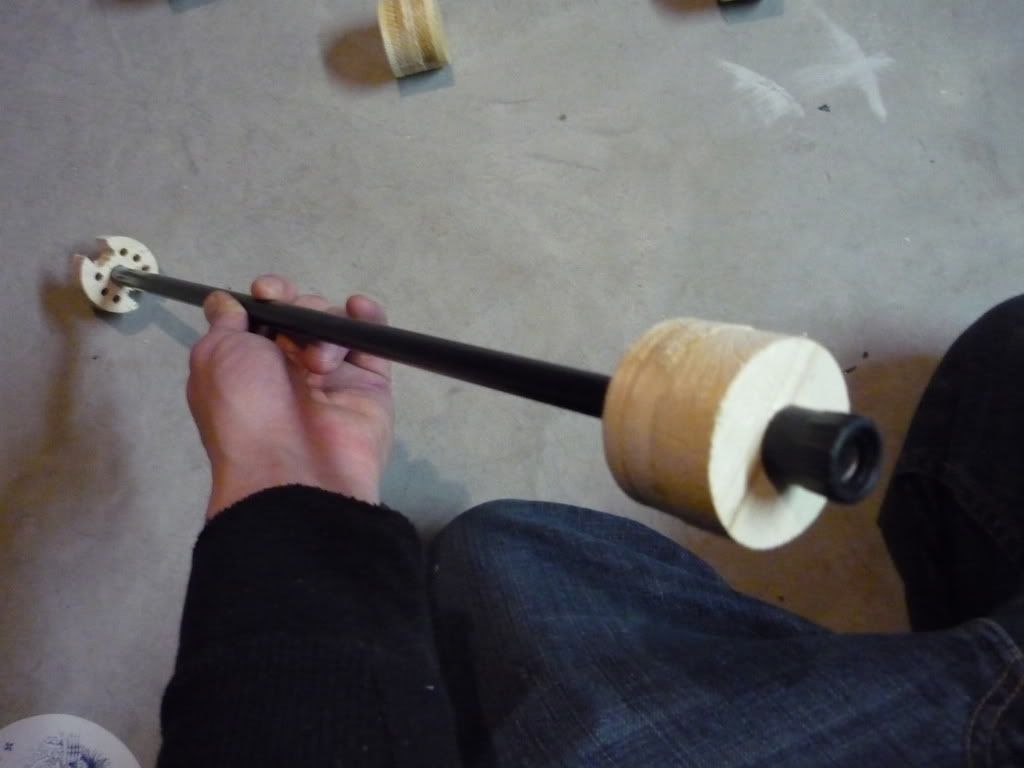
The Main Parts

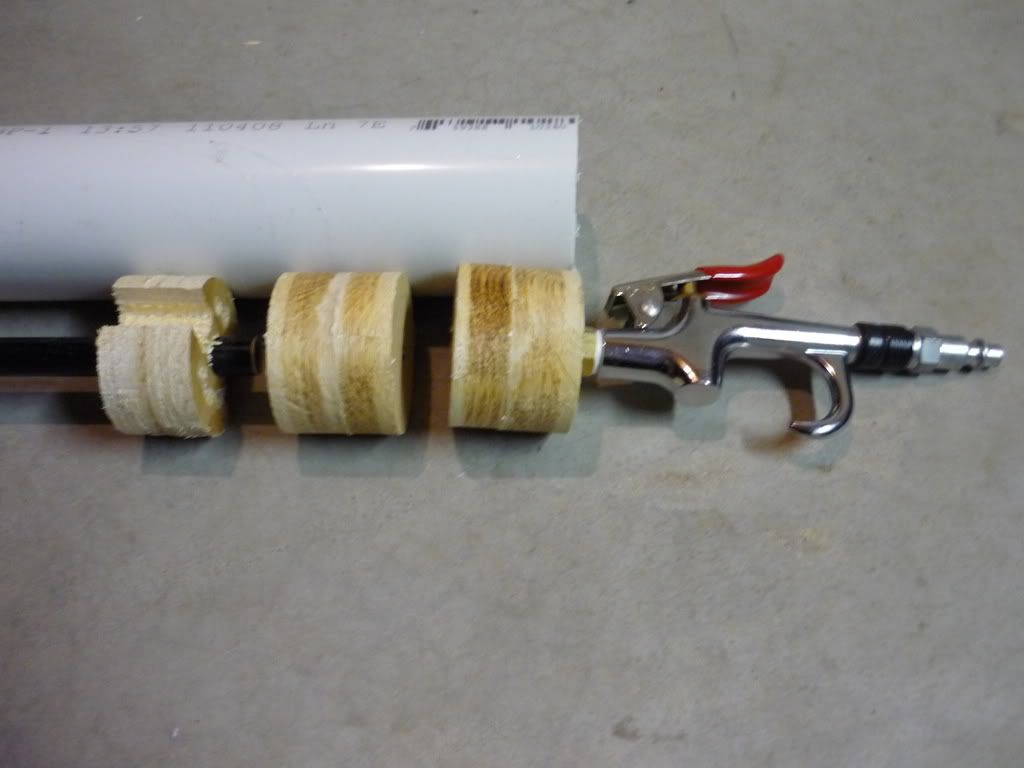
Barrel support and endcap assembled
The whole system laid out as in final assembly next to PVC
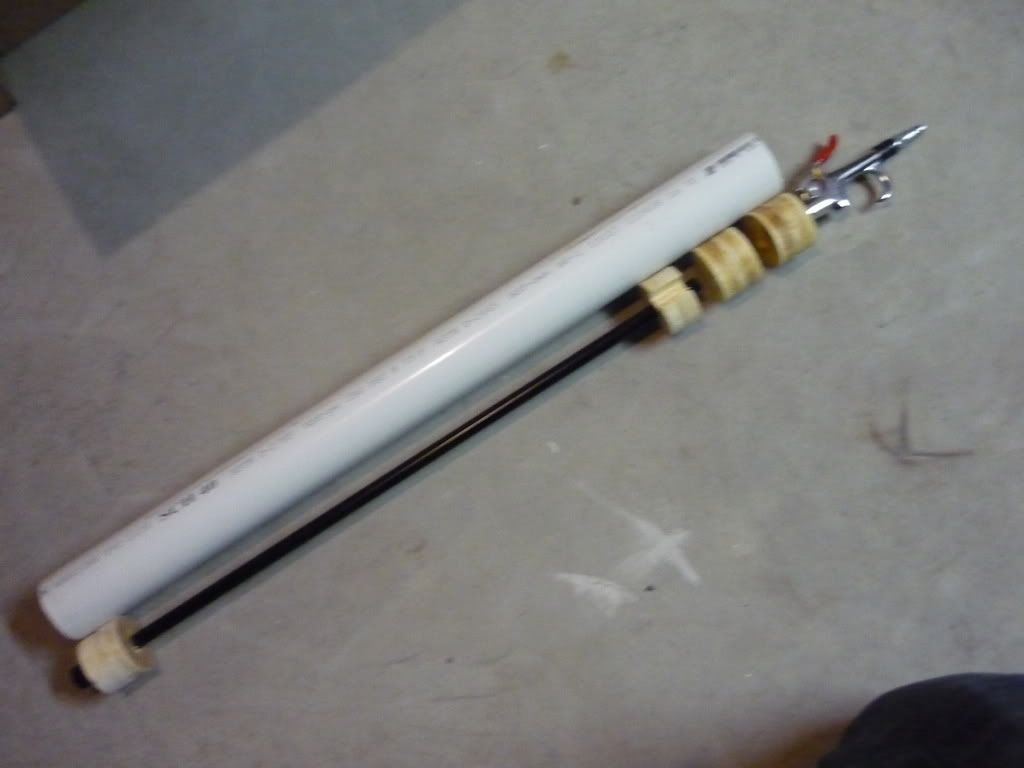
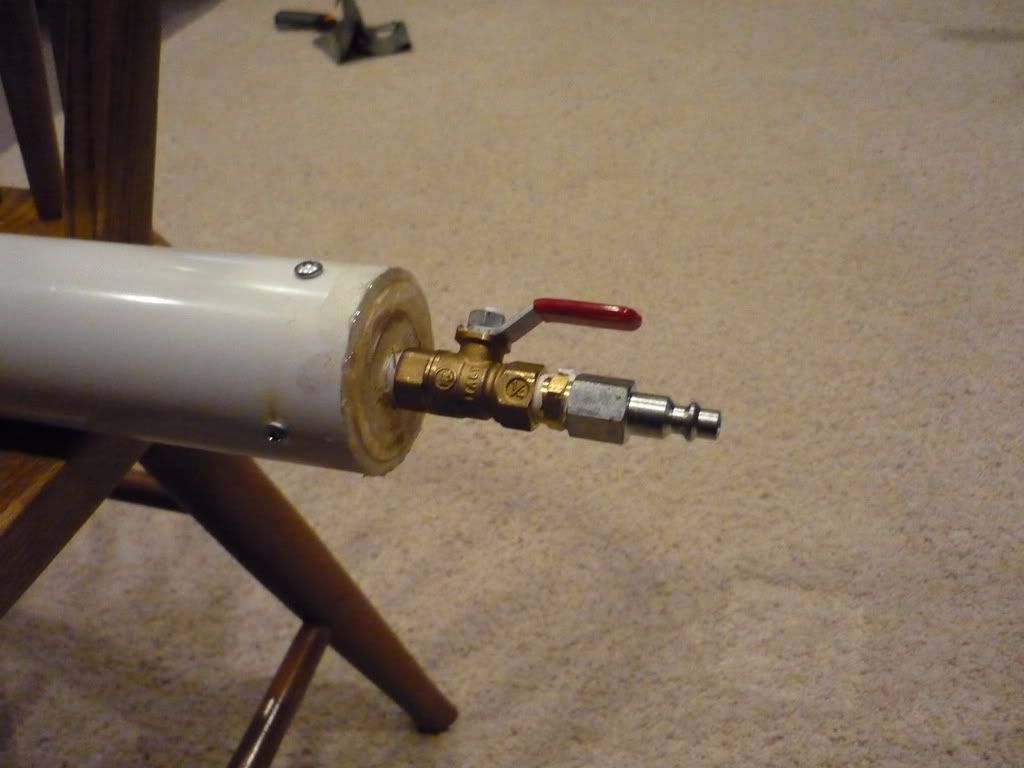
I eventually replaced the air gun with a ball valve
The piston with my first attempt at finding some bubber laying around my house
This didnt seal well enough so I had to disassemble it and try again but I eventually found a neoprene patch for fishing waders (spelling?) which once I removed one of the fabric outer layers worked perfectly.
Final assembly
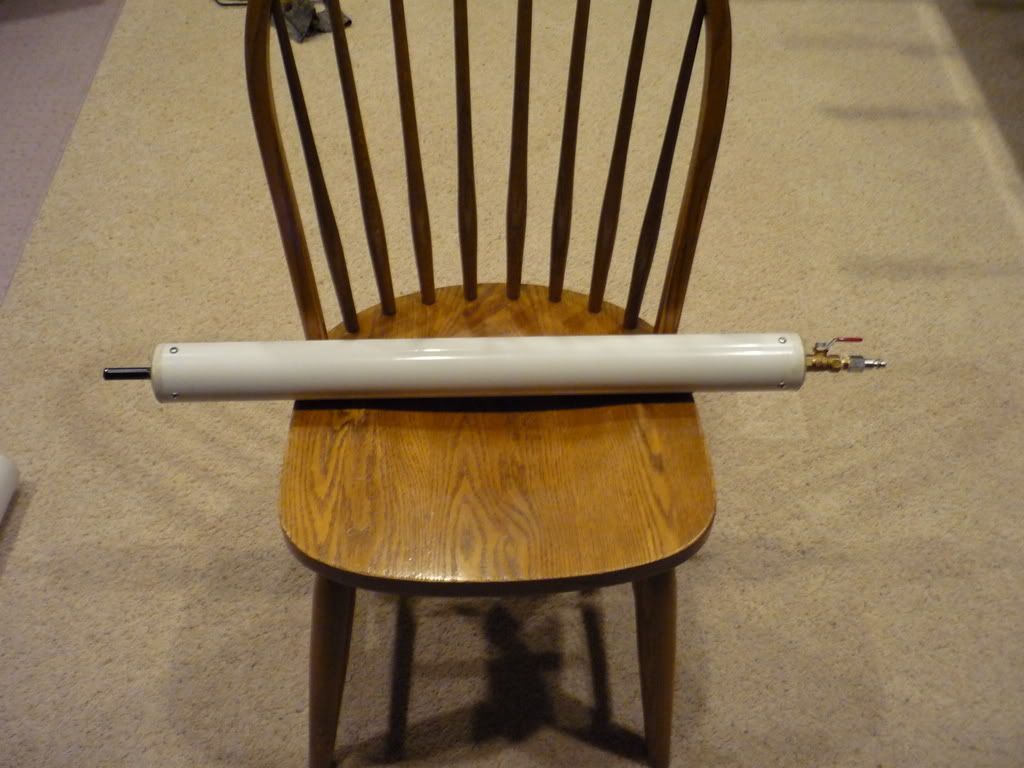
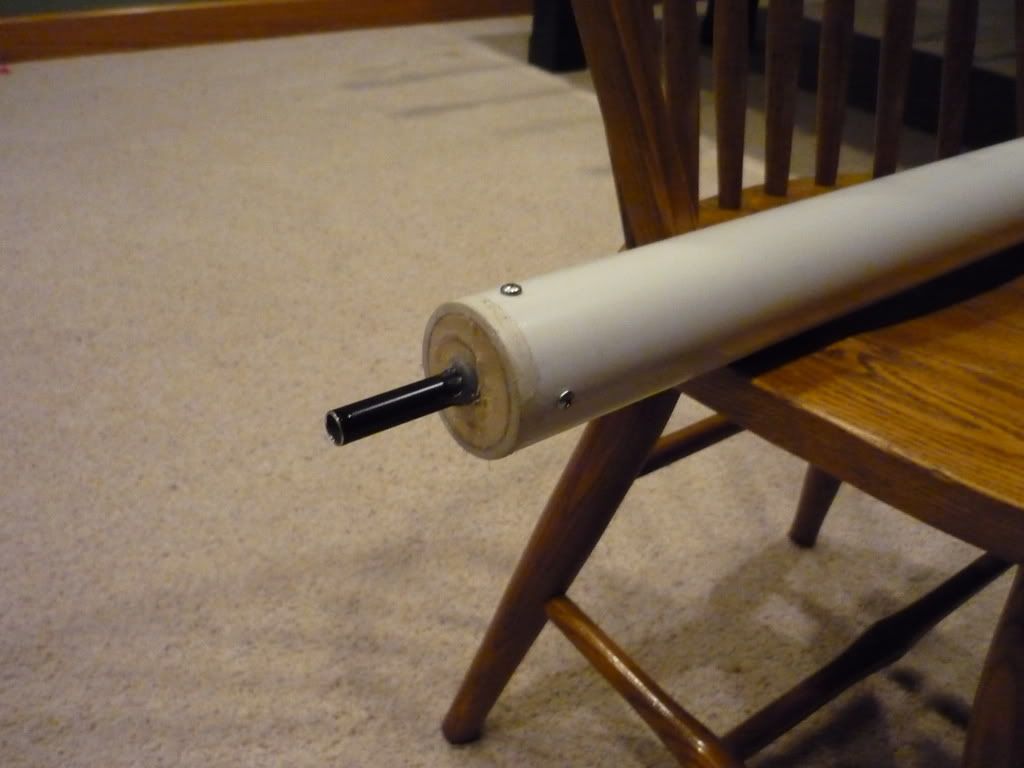
And just so none of you have to ask. Yes that is hotglue sealing the endcaps. Thats why I added the screws to ensure they will not come flying out. This is just a low pressure gun I made quickly so that I could fiddle with a piston and the great thing about hotglue is that it dries in seconds and once you get it hot again melts so that you can fix the mistake you made earlier
I have now added 8 screws to each cap just to be extra careful and so far no detectable leaks until I hit 80 psi. Not bad for hot glue Ill fix this later
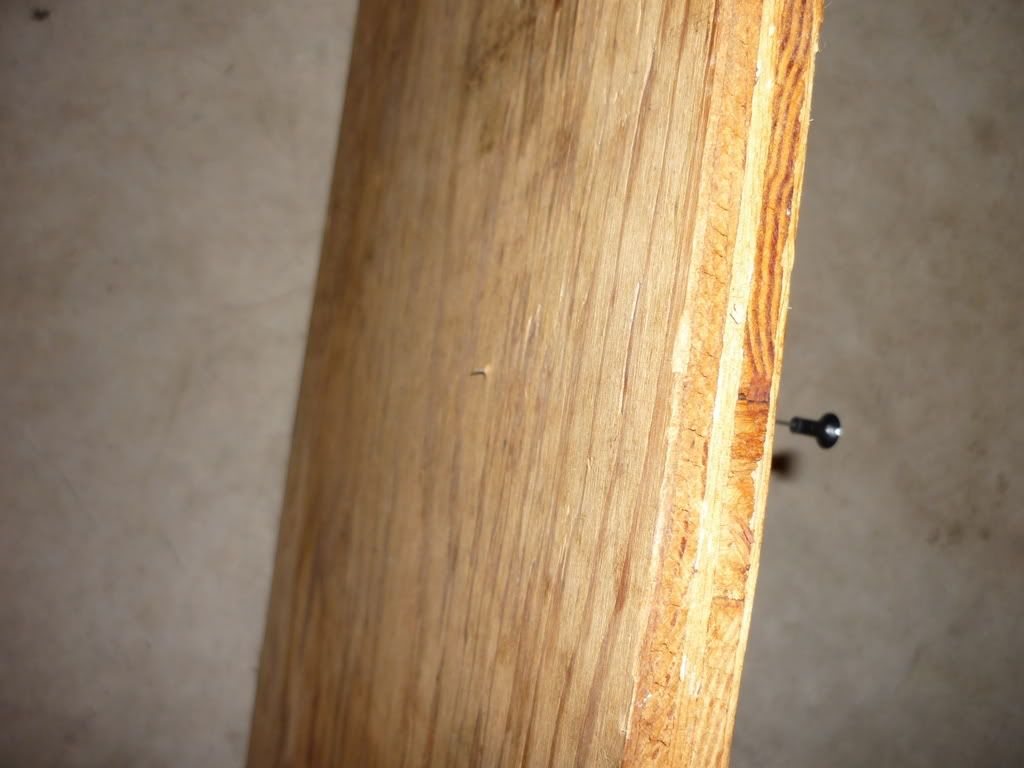
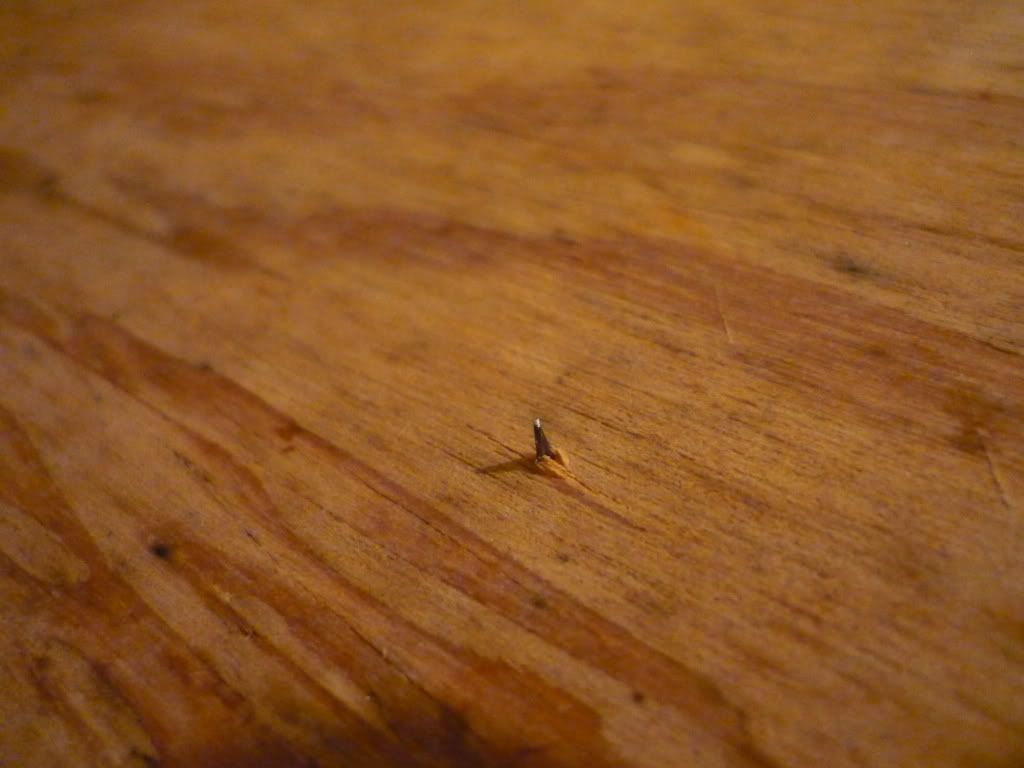
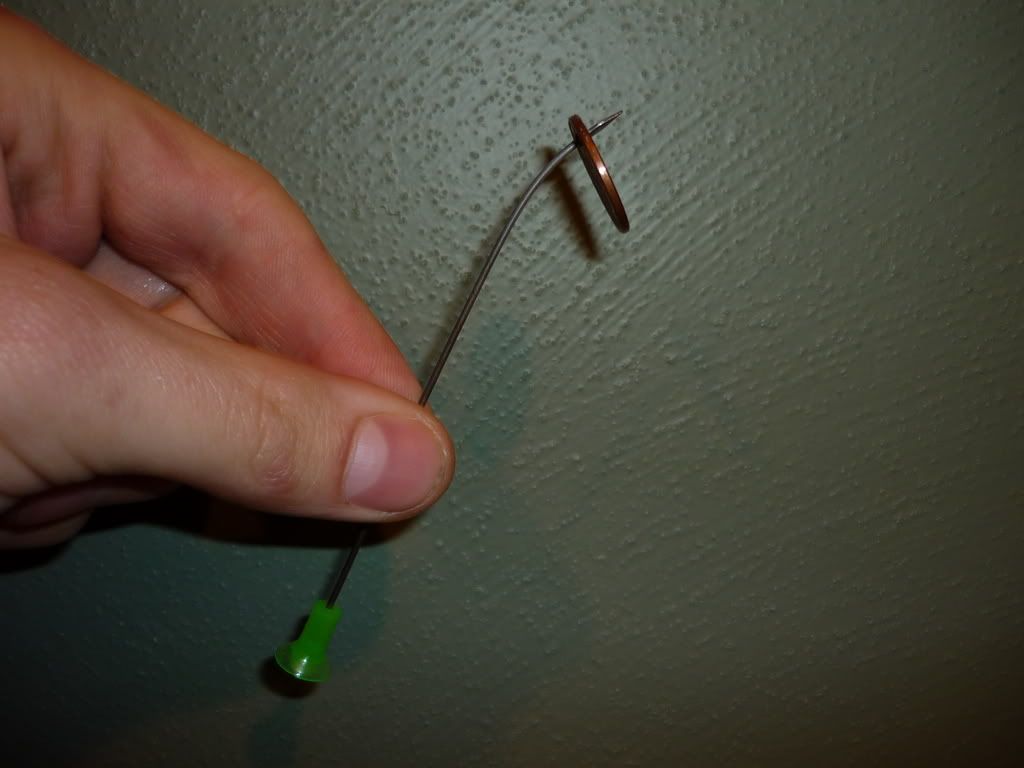
And here is my result
At only 30 psi
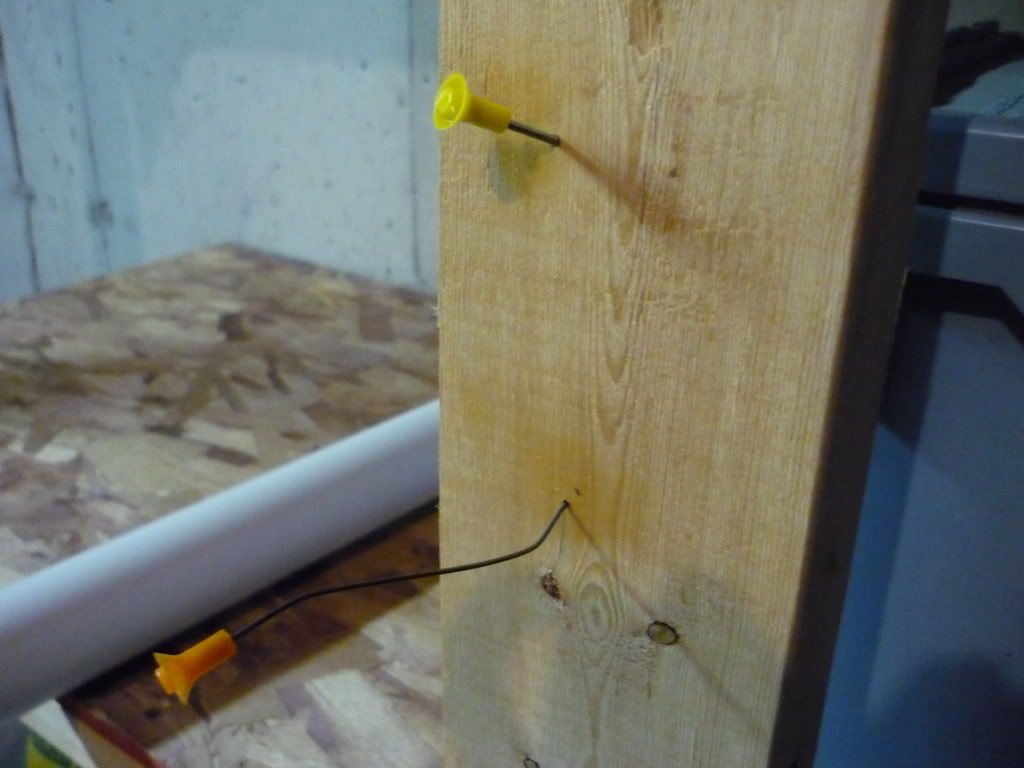
Looks like a need to find a new ammo source
The only problem I have encountered so far is that it fires perfectly at 30-40 psi but at 80 psi alot of air comes out the ball valve before the piston pops. Its still more powerful but it seems like way too much air is flowing out the ball. Any ideas?
Figured I would start with this pic just so everyone knows I learned my lesson
The Main Parts
Barrel support and endcap assembled
The whole system laid out as in final assembly next to PVC
I eventually replaced the air gun with a ball valve
The piston with my first attempt at finding some bubber laying around my house
This didnt seal well enough so I had to disassemble it and try again but I eventually found a neoprene patch for fishing waders (spelling?) which once I removed one of the fabric outer layers worked perfectly.
Final assembly
And just so none of you have to ask. Yes that is hotglue sealing the endcaps. Thats why I added the screws to ensure they will not come flying out. This is just a low pressure gun I made quickly so that I could fiddle with a piston and the great thing about hotglue is that it dries in seconds and once you get it hot again melts so that you can fix the mistake you made earlier
I have now added 8 screws to each cap just to be extra careful and so far no detectable leaks until I hit 80 psi. Not bad for hot glue
And here is my result
At only 30 psi
Looks like a need to find a new ammo source
The only problem I have encountered so far is that it fires perfectly at 30-40 psi but at 80 psi alot of air comes out the ball valve before the piston pops. Its still more powerful but it seems like way too much air is flowing out the ball. Any ideas?