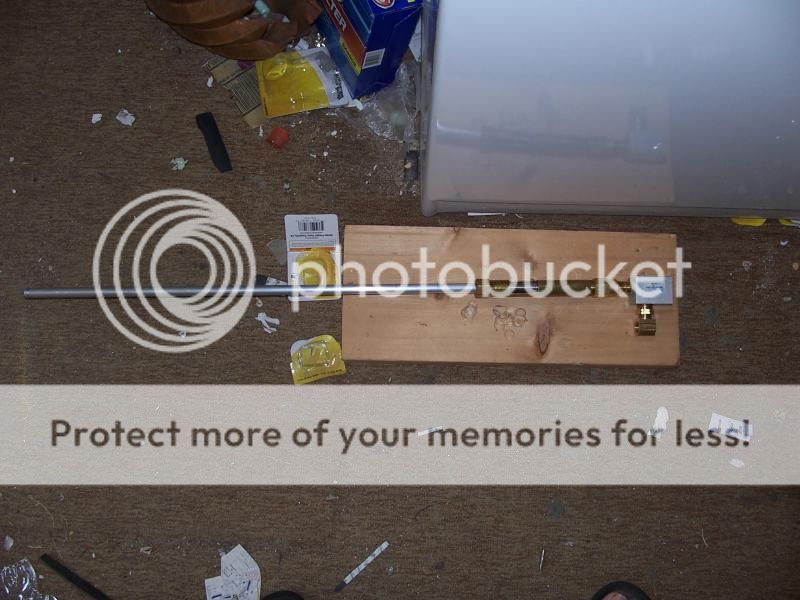
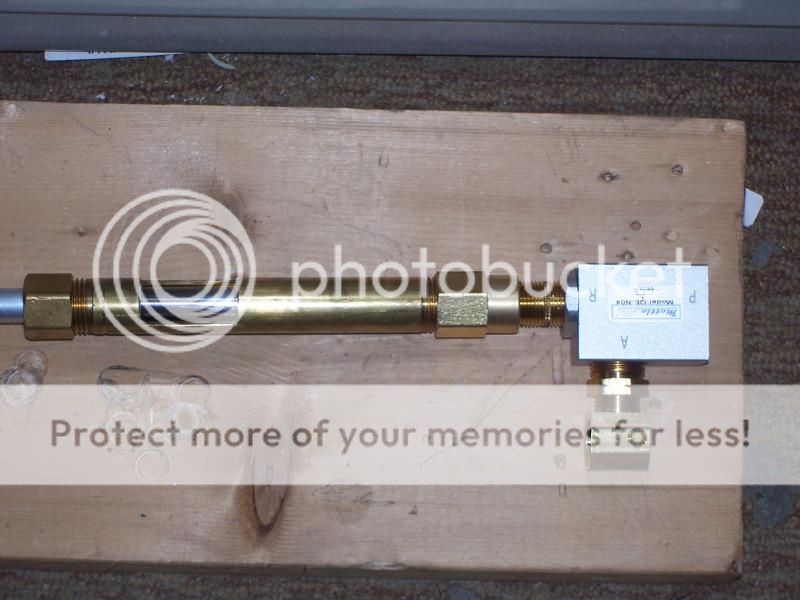
Here's the parts list:
1- 1/2 x 6 inch brass nipple
8- 5/8 x 1/2 x 1/2 inch nylon spacers
1- 1/8 inch x close nipple
1- 1/2 inch cap
1- 3 foot x 1/2 inch round aluminium tube
1- 8-32 x 1.5 inch screw
1-1/2 fmp x 3/8 fmp coupler
1- 3/8 inch x close nipple
Started with the 1/2" x 6" nipple cut the breach and the "L" for the bolt handle. I had decided to make the bolt 3" long and cut the "L" so the bolt would clear the breach enough to load. Next I inserted the spacers into the nipple 3 at the front and 5 at the back. I used the 1/8" nipple in the end of the breach to seat the breach and the projectile so it was not just two ends of tube butted together inside a spacer. The nipple actually threaded its self into the bolt tube nicely and the 8-32 screw was drilled, taped and run in so it went through the bolt wall and the nipple. Filed down the thread on the exposed portion of the 1/8 nipple so it would go in to the barrel with out catching. I drilled a 0.5" hole through the cap and screwed it down over the front spacers,had to widen the hole slightly to allow the barrel to pass through and used jb weld to seal the gap between the barrel and the cap and lock the barrel in place.


Then I attached it to a q.e.v.( ment to get one with 1/2" ports all round but didn't read well and got one with two 1/2" ports and a 3/8") using the 1/2 x 3/8 coupler and the 3/8 nipple.


I am using an old 9 oz. paintball tank as the firing purge tank, it has a wonderful 3/8 pipe thread I can connect it to the q.e.v. with just a couple fittings(need another 3/8 x close nipple to attach it. To fire I intend to use a compressor hand held blower valve.

Waiting for the main tank to arrive so I can complete construction. I did however test it to make sure it worked, which it did better then expected. Here is the test/ prototype rig.


And here is the projectiles the I tested with and was inspired to build this for, though I am going to construct some custom projectiles for it eventually.


Any thoughs or suggestions are welcome.


