i just finished making my new over/under potato cannon.
detains
chamber 3" x 12"
barrel 1 1/2" x 36"
over/under style
propane metering with fan
spark gap(1)
2 handle
Push Button Barbecue Igniter
blue paint job.
here's some pictures of the cannon.
<a href="http://s217.photobucket.com/albums/cc21 ... G00349.jpg" target="_blank"><img src="http://i217.photobucket.com/albums/cc21 ... G00349.jpg" border="0" alt="Photobucket"></a>
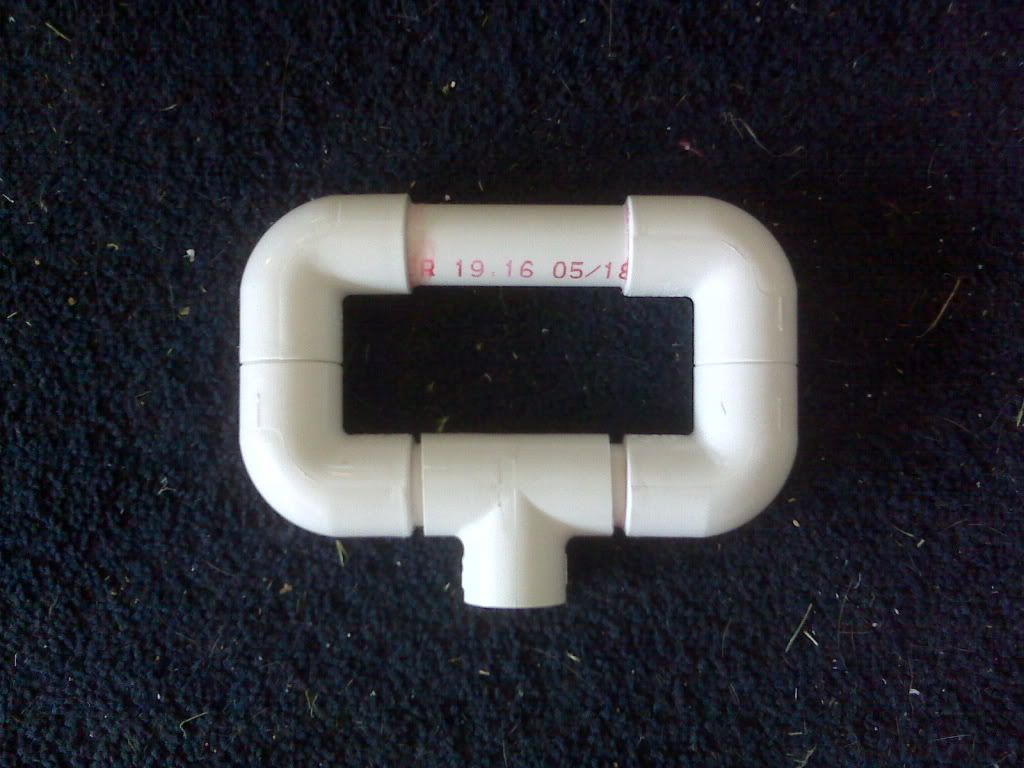
front handle before paint
<a href="http://s217.photobucket.com/albums/cc21 ... G00379.jpg" target="_blank"><img src="http://i217.photobucket.com/albums/cc21 ... G00379.jpg" border="0" alt="Photobucket"></a>
rear handle before paint
<a href="http://s217.photobucket.com/albums/cc21 ... G00456.jpg" target="_blank"><img src="http://i217.photobucket.com/albums/cc21 ... G00456.jpg" border="0" alt="Photobucket"></a>
power for the fan.
<a href="http://s217.photobucket.com/albums/cc21 ... G00459.jpg" target="_blank"><img src="http://i217.photobucket.com/albums/cc21 ... G00459.jpg" border="0" alt="Photobucket"></a>
fan button on the rear handle before paint.
<a href="http://s217.photobucket.com/albums/cc21 ... G00458.jpg" target="_blank"><img src="http://i217.photobucket.com/albums/cc21 ... G00458.jpg" border="0" alt="Photobucket"></a>
testing rear handle.
<a href="http://s217.photobucket.com/albums/cc21 ... G00442.jpg" target="_blank"><img src="http://i217.photobucket.com/albums/cc21 ... G00442.jpg" border="0" alt="Photobucket"></a>
spark gap installed in chamber.
<a href="http://s217.photobucket.com/albums/cc21 ... G00464.jpg" target="_blank"><img src="http://i217.photobucket.com/albums/cc21 ... G00464.jpg" border="0" alt="Photobucket"></a>
the fan picture 1
<a href="http://s217.photobucket.com/albums/cc21 ... G00465.jpg" target="_blank"><img src="http://i217.photobucket.com/albums/cc21 ... G00465.jpg" border="0" alt="Photobucket"></a>
the fan picture 2
<a href="http://s217.photobucket.com/albums/cc21 ... G00351.jpg" target="_blank"><img src="http://i217.photobucket.com/albums/cc21 ... G00351.jpg" border="0" alt="Photobucket"></a>
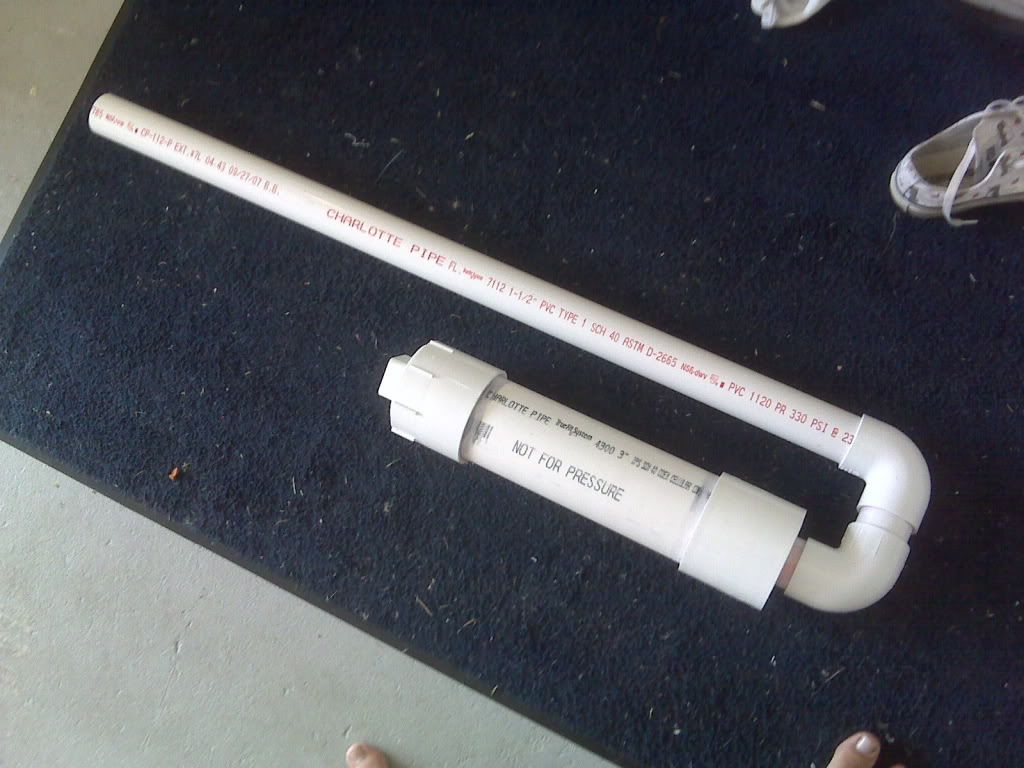
cannon without handles or paint.
<a href="http://s217.photobucket.com/albums/cc21 ... G00382.jpg" target="_blank"><img src="http://i217.photobucket.com/albums/cc21 ... G00382.jpg" border="0" alt="Photobucket"></a>
cannon with both handles on no paint 1.
<a href="http://s217.photobucket.com/albums/cc21 ... G00384.jpg" target="_blank"><img src="http://i217.photobucket.com/albums/cc21 ... G00384.jpg" border="0" alt="Photobucket"></a>
cannon with handles installed no paint 2.
<a href="http://s217.photobucket.com/albums/cc21 ... G00441.jpg" target="_blank"><img src="http://i217.photobucket.com/albums/cc21 ... G00441.jpg" border="0" alt="Photobucket"></a>
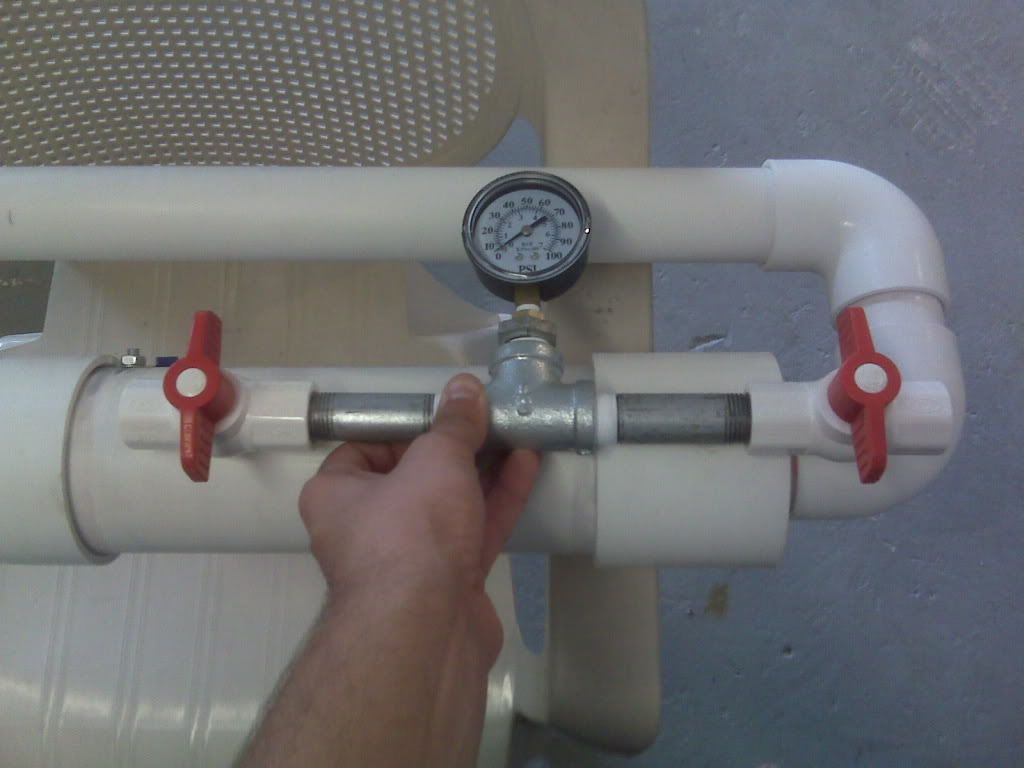
seeing where to install the propane meter.
<a href="http://s217.photobucket.com/albums/cc21 ... G00460.jpg" target="_blank"><img src="http://i217.photobucket.com/albums/cc21 ... G00460.jpg" border="0" alt="Photobucket"></a>
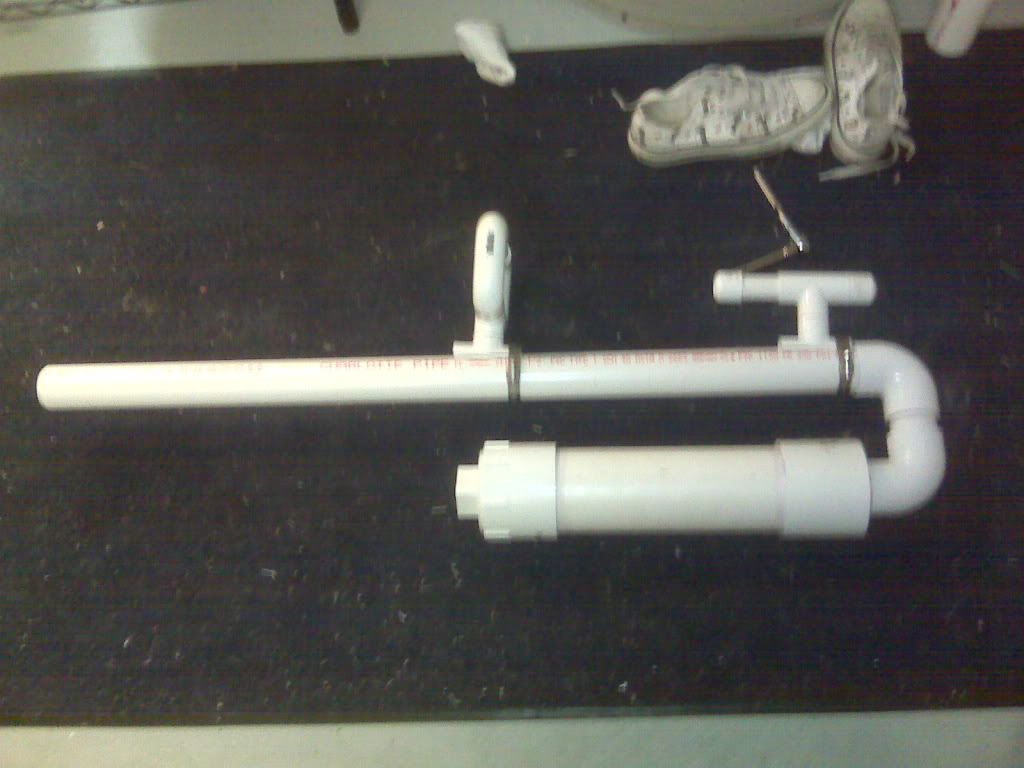
cannon all put together no paint.
<a href="http://s217.photobucket.com/albums/cc21 ... G00488.jpg" target="_blank"><img src="http://i217.photobucket.com/albums/cc21 ... G00488.jpg" border="0" alt="Photobucket"></a>
painted cannon
<a href="http://s217.photobucket.com/albums/cc21 ... G00497.jpg" target="_blank"><img src="http://i217.photobucket.com/albums/cc21 ... G00497.jpg" border="0" alt="Photobucket"></a>
painted cannon with handles
<a href="http://s217.photobucket.com/albums/cc21 ... G00501.jpg" target="_blank"><img src="http://i217.photobucket.com/albums/cc21 ... G00501.jpg" border="0" alt="Photobucket"></a>
the hole cannon together ready for test firing.
<a href="http://s217.photobucket.com/albums/cc21 ... G00504.jpg" target="_blank"><img src="http://i217.photobucket.com/albums/cc21 ... G00504.jpg" border="0" alt="Photobucket"></a>
the finished cannon.
<a href="http://s217.photobucket.com/albums/cc21 ... G00505.jpg" target="_blank"><img src="http://i217.photobucket.com/albums/cc21 ... G00505.jpg" border="0" alt="Photobucket"></a>
some pictures of the wiring.
new over/under cannon(lots of pics)
-
stevenarroyo

- Specialist

- Posts: 155
- Joined: Sun Jul 27, 2008 7:50 pm
- Location: Miami, FL
- Contact:


-
stevenarroyo
- Specialist
- Posts: 155
- Joined: Sun Jul 27, 2008 7:50 pm
- Location: Miami, FL
- Contact:
i don't think it needs any support it feels really strong does not bend at all.
and ya the chamber is cellular.... that's the only PVC 2 foot pieces home depot had at the time. and i didn't feel like buying a 10 foot long piece of PVC. and i would most likely not even use most of.
and ya the chamber is cellular.... that's the only PVC 2 foot pieces home depot had at the time. and i didn't feel like buying a 10 foot long piece of PVC. and i would most likely not even use most of.
-
cannon monkey
- Specialist 3

- Posts: 399
- Joined: Sun Sep 07, 2008 10:50 am
- Location: usa FL
very nice gun
love the blue
love the blue
-
stevenarroyo
- Specialist
- Posts: 155
- Joined: Sun Jul 27, 2008 7:50 pm
- Location: Miami, FL
- Contact:
-
cannon monkey
- Specialist 3
- Posts: 399
- Joined: Sun Sep 07, 2008 10:50 am
- Location: usa FL
if the cops show up for it
just hand it high in the sky maybe it blend into the color of the sky they will never see it
just kidding lol
much better than mine...
i be posting in next few weeks
need find a camera
just hand it high in the sky maybe it blend into the color of the sky they will never see it
just kidding lol
much better than mine...
i be posting in next few weeks
need find a camera
-
stevenarroyo
- Specialist
- Posts: 155
- Joined: Sun Jul 27, 2008 7:50 pm
- Location: Miami, FL
- Contact:
lol or i can put it in my pool!
ya i started planing as designing this one for some time.
i even sanded done all the PVC writing that they have on so it looks more solid, and cleaner.
ya i started planing as designing this one for some time.
i even sanded done all the PVC writing that they have on so it looks more solid, and cleaner.


Really good work here! Your handles are well done and wiring work very neatly done....the meter is solid and paint looks great.
Too bad you used cell core PVC for your chamber!!! You also tapped holes in a single layer of it.
A 1" PVC ball valve and associated reducers could be used for your air inlet. Also the propane tank is kind-of dangling at the moment.
Too bad you used cell core PVC for your chamber!!! You also tapped holes in a single layer of it.
A 1" PVC ball valve and associated reducers could be used for your air inlet. Also the propane tank is kind-of dangling at the moment.
-
stevenarroyo
- Specialist
- Posts: 155
- Joined: Sun Jul 27, 2008 7:50 pm
- Location: Miami, FL
- Contact:
ya i know about the cell core chamber and the holes in the pvc.
i dont like the hole PVC valve at the end of the chamber thing. and ya am planing on mounting the propane tank soon.
thanks starman
i dont like the hole PVC valve at the end of the chamber thing. and ya am planing on mounting the propane tank soon.
thanks starman
-
stevenarroyo
- Specialist
- Posts: 155
- Joined: Sun Jul 27, 2008 7:50 pm
- Location: Miami, FL
- Contact:
A couple more comments....
You may want to think about a barrel brace to the chamber. There's going to be a lot of stress on those joints in the rear, especially with your handles on the barrel.
I'm also curious how you configured your spark strip.
And...you need to calculate the U joint in the rear as part of the chamber and not the barrel. Just looking at the thing, 1.22:1 seems a little low to me. You've got more chamber than that here.
Last edited by starman on Thu Oct 23, 2008 4:53 pm, edited 1 time in total.
-
stevenarroyo
- Specialist
- Posts: 155
- Joined: Sun Jul 27, 2008 7:50 pm
- Location: Miami, FL
- Contact:
i try to find pictures of the spark gap.
and ya i didnt add the 2 elbows into the math.
and ya i didnt add the 2 elbows into the math.
-
stevenarroyo
- Specialist
- Posts: 155
- Joined: Sun Jul 27, 2008 7:50 pm
- Location: Miami, FL
- Contact:
starman here are the pic's of the spark gap i made
<a href="http://s217.photobucket.com/albums/cc21 ... G00328.jpg" target="_blank"><img src="http://i217.photobucket.com/albums/cc21 ... G00328.jpg" border="0" alt="Photobucket"></a>
<a href="http://s217.photobucket.com/albums/cc21 ... G00329.jpg" target="_blank"><img src="http://i217.photobucket.com/albums/cc21 ... G00329.jpg" border="0" alt="Photobucket"></a>