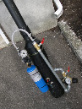
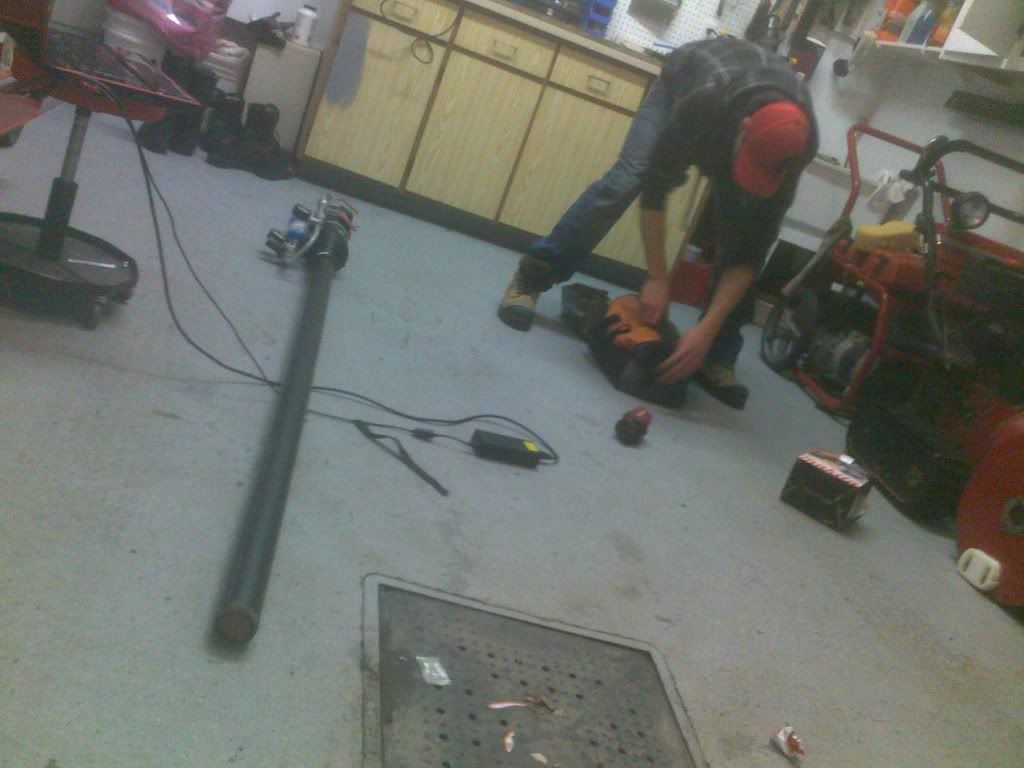
My second spud gun (Meter pipe DIY inside)

Boom! The classic potato gun harnesses the combustion of flammable vapor. Show us your combustion spud gun and discuss fuels, ratios, safety, ignition systems, tools, and more.
User avatar
David603
Private
Private
Posts: 9
Joined: Mon Apr 26, 2010 8:44 pm

Wed Jan 04, 2012 7:31 pm

I did this for my friend a while back trying not to make the same errors I did with my first one. I went with a shorter meter pipe to be more acurate and went for a smaller combustion chamber to have the best air/propane ratio achievable. I found a lot of info on ratios on this website: http://www.burntlatke.com/

Some pictures

Image

Image

Image

Image

I was also asked how to do a meter pipe and the products needed to do so. I thought I could give a shot at a little diy.

First you need a propane torch like this Bernzomatic one:

Image

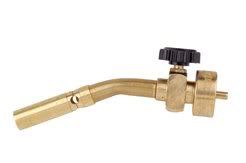
This propane torch will act as the shut off valve preventing any leeks when storing the spud gun. You can usually find this in any hardware store.

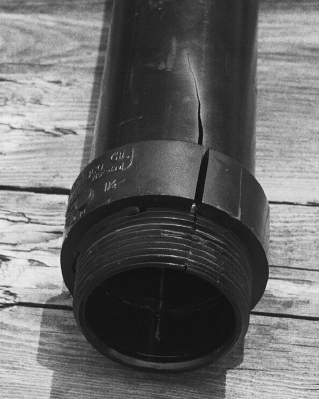
Then you need a grinder and a 1/8'' NPT tap. You need NPT (National Pipe Thread to be able to screw it to any pipe, UNC and UNF wont fit.)

You can grind it and tap it from this:

Image

To this

Image

And after some time cleaning it and trying to make a great picture
This:

Image

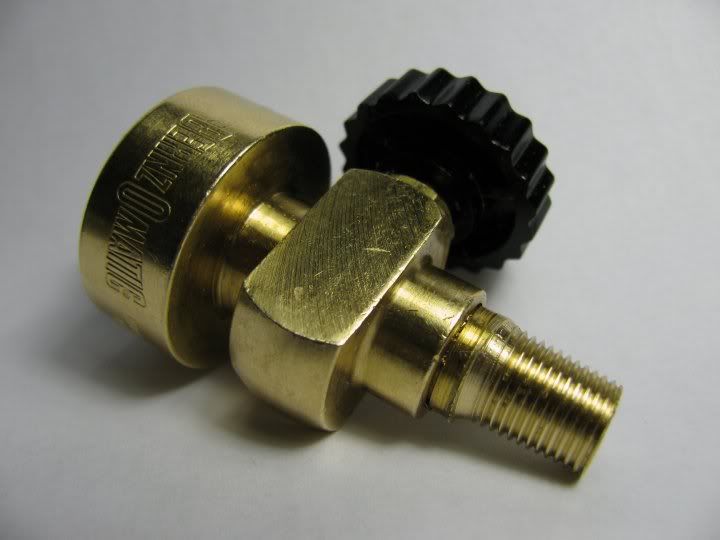
I know some people just unscrew the end but anyway thats how I do it...

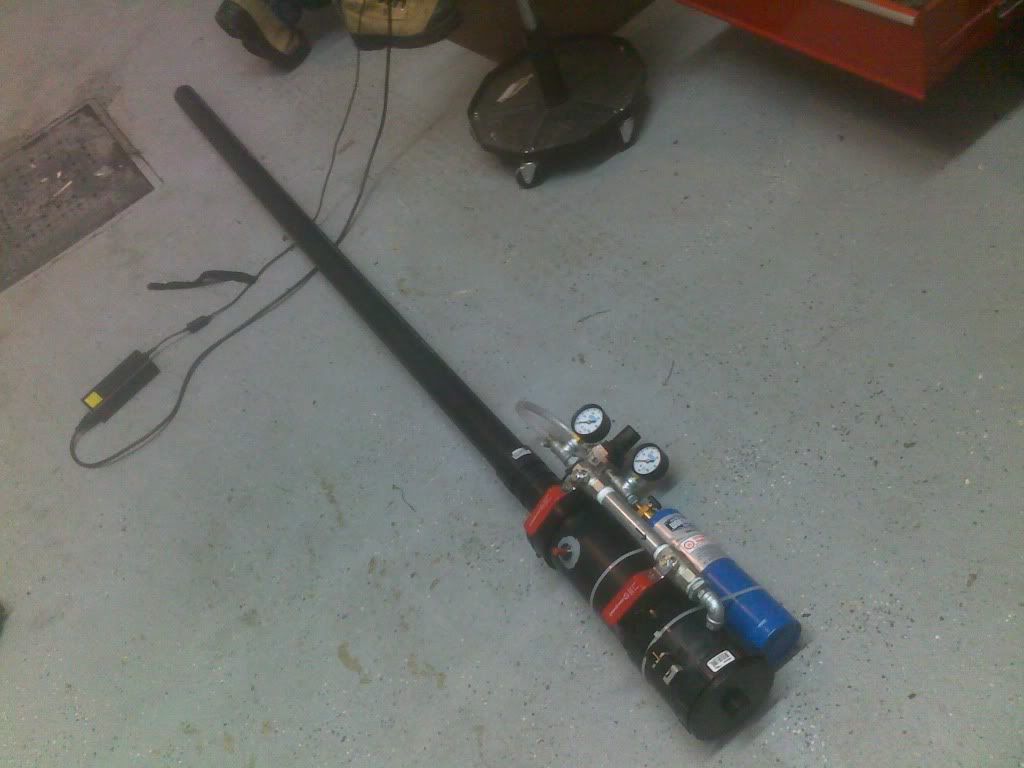
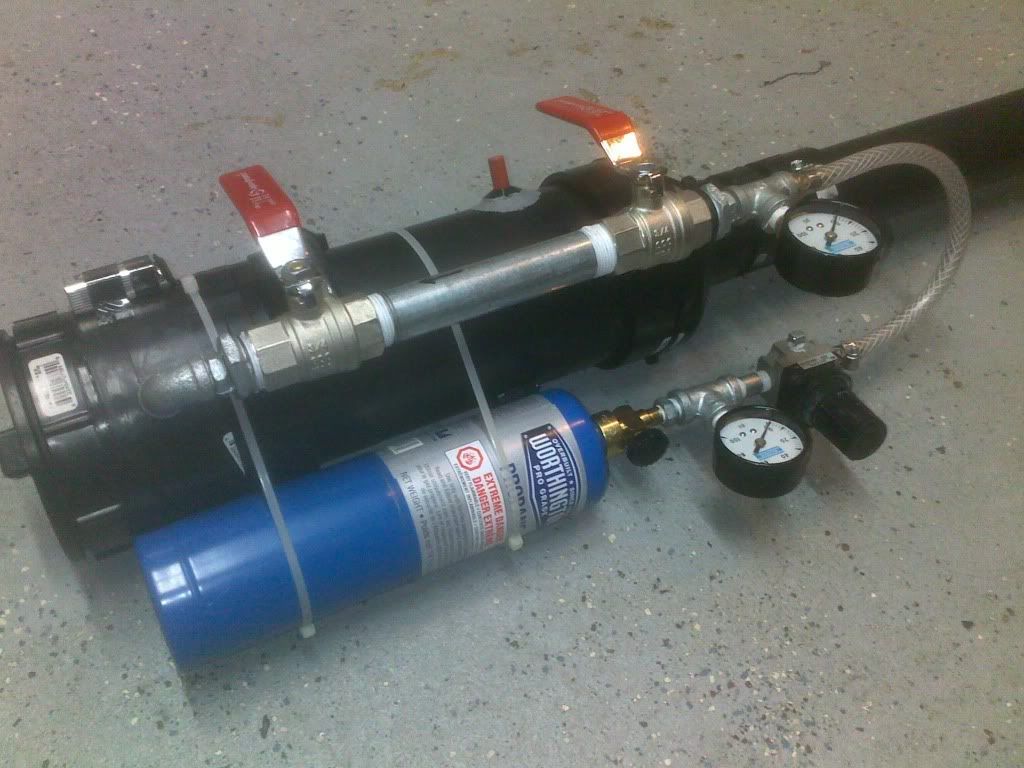
Next you'll need a first gauge to tell you the amount of propane left in the bottle. it will be positioned between the shut off valve and the pressure regulator. They usually come with a 1/4'' fitting so buy a 1/4'' T flange and some 1/8'' to 1/4'' fittings to assemble everything together to look like this:

Image

Next comes the pressure regulator that you can connect with the T flange with a male-male 1/4'' pipe. This valve will let you decide how much pressure you want in your meter pipe to have the best air/propane ratio in your combustion chamber.

Next comes a hose fitting, a pressure hose, another hose fitting and some clamps. This arrangement gives you a compact meter pipe by letting you change direction. You will then need another gauge to tell you how much pressure the pressure regulator is allowing to the meter pipe. Another T flange is used for this purpose.

Then comes the meter pipe itself. I think that for this one I used some 1/4'' to 3/8'' adapters, two 3/8'' ball valves and a small 3/8'' galvanized pipe (I don't remember the length though...) But you want to keep it short enough to have some good pressure readings and long enough to be working with low pressures when your bottle is going empty.

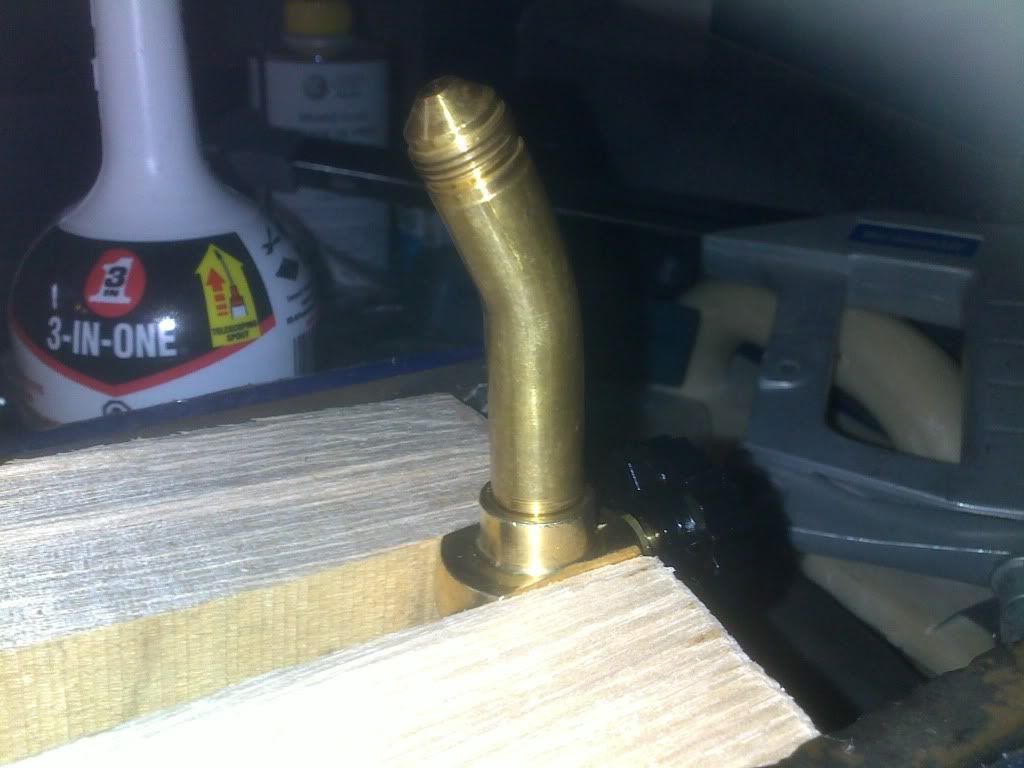
At the end you need an other adapter and since the only NPT tap I had was a 1/8'', I went for a 3/8'' to 1/4'' adapter and screwed in an other 1/4'' to 1/8'' adapter. I then drilled out the ABS pipe, tapped it with the 1/8'' NPT tap and screwed the elbow in and tie wrapped the whole thing to the cannon.

That's how (I think) you make a good meter pipe.

PS: don't forget the teflon tape and you can put a little angle in the ball vales handles to be closer to the chamber. It will make it easer to use.

Thanks for reading, sorry for my english (I usually speak french) and I hope this helps.

David
SpudBlaster15
First Sergeant 3
First Sergeant 3
Seychelles
Posts: 2400
Joined: Wed Oct 18, 2006 11:12 pm
Has thanked: 2 times
Been thanked: 10 times

Wed Jan 04, 2012 8:10 pm

Lorem ipsum dolor sit amet, consectetur adipiscing elit. Cras nec placerat erat. Vivamus dapibus egestas nunc, at eleifend neque. Suspendisse potenti. Sed dictum lacus eu nisl pretium vehicula. Ut faucibus hendrerit nisi. Integer ultricies orci eu ultrices malesuada. Fusce id mauris risus. Suspendisse finibus ligula et nisl rutrum efficitur. Vestibulum posuere erat pellentesque ornare venenatis. Integer commodo fermentum tortor in pharetra. Proin scelerisque consectetur posuere. Vestibulum molestie augue ac nibh feugiat scelerisque. Sed aliquet a nunc in mattis.
Last edited by SpudBlaster15 on Wed Jul 14, 2021 8:55 pm, edited 1 time in total.
User avatar
David603
Private
Private
Posts: 9
Joined: Mon Apr 26, 2010 8:44 pm

Thu Jan 05, 2012 12:07 am

I have been told this about my first cannon but I have never experienced any problem with this way of placing the igniter. I drill a hole and stick the piezo in it. Then i put the nut and to be sure that it doesn't pop out, i cover the inside and out with some plastic metal. This way the spark happens directly in the middle of the combustion chamber and the igniter is just welded in place. I have shot numerous times with this setup without any bad experience.
User avatar
Technician1002
Captain
Captain
Posts: 5189
Joined: Sat Apr 04, 2009 11:10 am

Thu Jan 05, 2012 11:38 am

I've tested ABS to 100 PSI with a single layer hole. See my sig for the ABS test cannon. It should be fine in ABS. PVC could propagate a crack and cause a chamber explosion. Propane air should be fine for ABS. ABS tends to tear and not shatter.

Failure mode of ABS is not bad. This failure below was from excessive pressure above what a propane air mix will provide.
Image
ferdna
Recruit
Recruit
Posts: 1
Joined: Tue May 22, 2012 1:11 pm

Tue May 22, 2012 1:14 pm

EDIT: Nevermind. The 1/4 is too big for the job. so that is why 1/8 must be used.


can i use a 1/4 tapping instead of a 1/8? if no can you explain why.


Thank you.
User avatar
cowscankill
Private 4
Private 4
United States of America
Posts: 73
Joined: Sun Apr 10, 2011 8:09 am

Sun Oct 21, 2012 4:08 pm

I plan for my first serious cannon to use propane. This DIY metering set up is excellent.
Any idea where to look for ideal ratios of propane/air?
User avatar
Crna Legija
First Sergeant 2
First Sergeant 2
Posts: 2333
Joined: Sun Jul 20, 2008 5:14 am
Location: australia

Mon Oct 22, 2012 2:41 am

check the wiki
'' To alcohol... The cause of, and solution to, all of life's problems.”
--Homer Simpson

Add me on ps3: wannafuk, 8/11/11 cant wait
djsnowman06
Private
Private
Posts: 4
Joined: Sat Nov 23, 2013 5:40 pm

Sat Nov 23, 2013 5:44 pm

Best propane mix is ~4% volume/volume
Post Reply